Kubernetes is powerful, but let’s be honest, managing it can feel like archaeology. You’re digging through YAML files, parsing terminal output, and trying to remember which cluster has which namespace. It’s functional, but it’s common to have a handful of IDE’s and editors for different scenarios, just to wind up back at the terminal anyway.
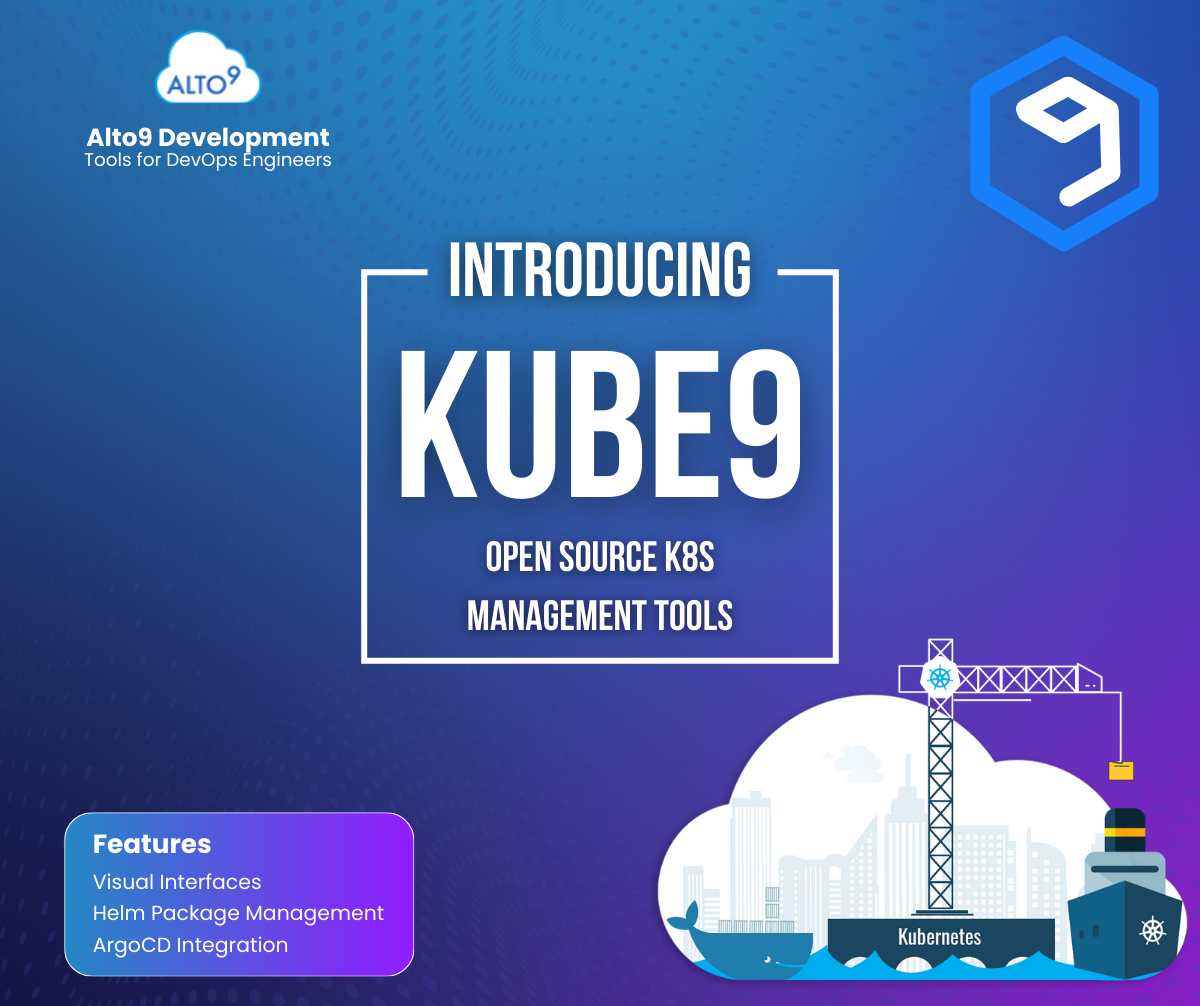
Kube9 is a new open source VS Code extension from Alto9 that transforms Kubernetes management from a command-line exercise into a visual, intuitive experience. Instead of memorizing `kubectl` commands and scrolling through YAML, you get a visual interface that makes cluster management feel natural.
Why Visual Matters
Not everyone thinks in YAML. Some developers are visual learners who understand relationships better when they can see them. Kube9 gives you:
- Visual tree navigation – Browse clusters, namespaces, and resources like you browse files
- Rich resource views – See pod status, events, and conditions in organized, scannable layouts
- Visual status indicators – Instantly see what’s healthy, what’s failing, and what needs attention
- Quick operations – Scale workloads, restart deployments, and manage resources with right-click actions
You can edit YAML when you need to – it’s right there in a tab. But for viewing, organizing, and common operations, you get a visual interface that’s easier to scan and understand.

The Cluster Organizer
If you manage multiple clusters (and who doesn’t?), the Cluster Organizer is probably the feature you’ll use most. It lets you:
- Create custom folders – Group clusters by environment (production, staging, dev), by team, or however makes sense for your workflow
- Set friendly aliases – Rename gke_production_us-central1_cluster-abc123 to something you’ll actually remember
- Build custom views – Create project-specific views that show exactly what you need
The default tree view shows everything from your kubeconfig. But with the Cluster Organizer, you can create views that match how you actually think about your infrastructure. It’s like having a custom dashboard for every project.

What Kube9 Does
Visual Cluster Navigation
Instead of typing `kubectl get pods -n production`, you get a tree view that shows:
- All your clusters (from your kubeconfig)
- Namespaces organized clearly
- Resources grouped by type (Pods, Deployments, Services, etc.)
- Real-time status indicators
Click through your cluster structure just like browsing files in VS Code.
Resource Management
View and manage resources with visual interfaces and YAML editing:
- Describe view – Organized display of resource details, conditions, and events (much easier to scan than `kubectl describe` output)
- YAML view – Full syntax-highlighted editor for editing resources
- Quick operations – Scale workloads, restart deployments, delete resources with right-click actions
- Save changes – Edit YAML and save directly back to your cluster
ArgoCD Integration
If you use ArgoCD for GitOps, Kube9 integrates seamlessly:
- View all ArgoCD Applications with sync and health status
- Detect configuration drift at a glance
- Sync, refresh, and hard refresh applications with right-click actions
- See drift details and recommendations
Developer-Friendly Features
- Pod logs – View logs directly in VS Code with filtering and search
- Port forwarding – Forward ports from pods to localhost
- Terminal access – Open a terminal session in any pod
- YAML templates – Quick templates for common resources
- Dry-run validation – Test YAML before applying
Privacy and Security First
We built Kube9 with privacy as a core principle:
- 100% local – All operations use your local `kubectl` and kubeconfig
- No external servers – Your cluster data never leaves your machine
- Open source – MIT licensed, review the code yourself
Your kubeconfig credentials stay on your machine. Always.
Getting Started
Installing Kube9 takes about 30 seconds:
- Open VS Code
- Go to Extensions (`Ctrl/Cmd + Shift + X`)
- Search for “Kube9”
- Click Install
That’s it. Kube9 automatically reads your kubeconfig and shows your clusters in the sidebar. No configuration needed.
Try It Today
Kube9 for VS Code is free, open source, and available now in the VS Code Marketplace. If you’re working with Kubernetes and using VS Code, give it a try. We think you’ll find it makes cluster management more visual, more organized, and more intuitive.
Install: Search “Kube9” in VS Code Extensions
GitHub: github.com/alto9/kube9-vscode
Documentation: alto9.github.io/kube9/vscode
Kube9 Home: www.kube9.io
Alto9 Home: www.alto9.com

On a previous blog post, we talked about using SSM parameters with ECS to pull secrets from a remote store. If you are using EKS instead of ECS, you’ve probably noticed that this is not a built-in feature. Kubernetes has built-in secrets but base64 encoding is not encryption, and many teams still prefer an external secret store to keep secret values in a central location, only allowing access to authenticated users and services.
Fortunately, the GoDaddy engineering team has created an open source project that helps with this challenge. The external-secrets project allows us to reference AWS secrets within Kubernetes pods.
Before you even install it, you’ll probably have an obvious first question: “How will the pod be granted access to the secrets manager?” Let’s talk about that real quick, we need to set it up first before we even install the external-secrets controller and CRD.
The pod that is requesting the “ExternalSecret” needs to have AWS authentication credentials. The quick and easy way to do this is to give your EC2 node IAM role access to your Secrets Manager, but this is not recommended. If you provide access to the entire node, then any pod running can access your secrets, even one that might have been launched by an attacker. It also doesn’t let you define granular access, only allowing certain pods to access certain secrets. If you want to follow the pattern of ‘least-privilege’, the best way forward is to use IAM Roles for Service Accounts. The tl;dr here is that you associate the service account that runs the external-secrets controller with an IAM role that grants it access to AWS services, so that it can create secrets for you.
Configuring this happens in 3 fairly easy steps that AWS has already documented for us:
- Enable IAM Roles for Service Accounts
- Creating an IAM Role and Policy for your Service Account
- Associate an IAM Role to a Service Account
These docs are fantastic, but in our case we need to push these changes out to 3 completely separate environments (dev, test, and prod) in a reliable way, while providing segregation between them and I don’t want to do the work by hand. We are going to use Terraform for the scripting, separating our environments by terraform workspace. If you would rather create objects manually following the guides above, feel free to skip the Terraform section and join us in Step 2 below.
Step 1: Terraforming
This is a rough representation of what we need to create.

The following terraform code is what we use to create an EKS cluster with OIDC provider enabled, and IAM Roles for Service Accounts preconfigured. For this example we will keep it simple and just say that for each environment, we want to create 1 service account and 1 role specific to that environment, that only allows access to secrets with a certain prefix that matches that environment, or a global prefix. After running this, we will have a service account named external-secrets that will be associated with the apps_role_dev IAM role. This is OK since we have a different cluster for each environment, but we are using the same AWS account so we need segregated role names.
cluster.tf
resource "aws_eks_cluster" "eks_cluster" {
  name     = "${var.cluster_name}-${terraform.workspace}"

  role_arn = aws_iam_role.eks_cluster_role.arn
  enabled_cluster_log_types = ["api", "audit", "authenticator", "controllerManager", "scheduler"]

   vpc_config {
    subnet_ids =  concat(var.public_subnets, var.private_subnets)
  }

   timeouts {
     delete    = "30m"
   }
}
Code language: JavaScript (javascript)
irsa.tf
Configuring IAM Roles for Service Accounts is actually pretty easy with terraform, with the help of a module, eks-irsa. All we need to do is pass in the name of the role we want it to create, the cluster information, and any additional policy information (like pulling secrets) and it will do the hard work. We still have to setup the OIDC provider here but again that’s very easy with terraform. Also notice how we use the terraform workspace within the iamSecretPolicy object to restrict what this role will be able to access.
data "tls_certificate" "eks_cert" {
  url = aws_eks_cluster.eks_cluster.identity[0].oidc[0].issuer
  depends_on = [
    aws_eks_cluster.eks_cluster
  ]
}

resource "aws_iam_openid_connect_provider" "openid_provider" {
  client_id_list  = ["sts.amazonaws.com"]
  thumbprint_list = [data.tls_certificate.eks_cert.certificates[0].sha1_fingerprint]
  url             = aws_eks_cluster.eks_cluster.identity[0].oidc[0].issuer
  depends_on = [
    aws_eks_cluster.eks_cluster
  ]
}

module "eks-irsa" {
  source  = "nalbam/eks-irsa/aws"
  version = "0.13.2"

  name = "apps_role_${terraform.workspace}"
  region = var.aws_region
  cluster_name = aws_eks_cluster.eks_cluster.name
  cluster_names = [
    aws_eks_cluster.eks_cluster.name
  ]
  kube_namespace      = "default"
  kube_serviceaccount = "external-secrets"

  policy_arns = [
    aws_iam_policy.iamSecretPolicy.arn
  ]

  depends_on = [
    aws_eks_cluster.eks_cluster
  ]
}

resource "aws_iam_policy" "iamSecretPolicy" {
  name        = "${terraform.workspace}_secretPolicy"
  path        = "/"
  description = "Allow access to ${terraform.workspace} secrets"

  policy = jsonencode({
    Version = "2012-10-17"
    Statement = [
      {
        Action = [
          "secretsmanager:GetResourcePolicy",
          "secretsmanager:GetSecretValue",
          "secretsmanager:DescribeSecret",
          "secretsmanager:ListSecretVersionIds"
        ]
        Effect   = "Allow"
        Resource = [
          "arn:aws:secretsmanager:${var.aws_region}:${var.account_id}:secret:${terraform.workspace}/*"
        ]
      },
    ]
  })
}Code language: JavaScript (javascript)
The cluster is now ready to use Service Accounts linked to IAM roles to pull secrets from AWS, and we had Terraform create an IAM role for us that is already setup. The great thing about this is it doesn’t have to be specific to secrets! Your pods tied to service accounts now have the power to perform all sorts of AWS automation.
Step 2: Installing the external-secrets library
helm.tf
resource "helm_release" "external-secrets" {
  name       = "external-secrets"
  repository = "https://external-secrets.github.io/kubernetes-external-secrets/"
  chart      = "kubernetes-external-secrets"
  verify     = "false"

  values = [
    templatefile("./helm/kubernetes-external-secrets/values.yml", { roleArn = "${module.eks-irsa.arn}" })
  ]

  set {
    name  = "metrics.enabled"
    value = "true"
  }

  set {
    name  = "service.annotations.prometheus\\.io/port"
    value = "9127"
    type  = "string"
  }
}
Code language: JavaScript (javascript)
./helm/kubernetes-external-secrets/values.yml
Here we pass the role ARN that the IRSA module created, to the external-secrets values. The ‘external-secrets’ service account will be created an annotated with that role arn via a templatefile.
serviceAccount:
  name: "external-secrets"
  annotations: {
    eks.amazonaws.com/role-arn: "${roleArn}"
  }
securityContext:
  fsGroup: 65534Code language: JavaScript (javascript)
Step 3: Putting it all together
Now that the cluster is configured properly, and the external-secrets library is installed, there is nothing stopping us from using the ‘ExternalSecret’ CRD to create a secret that our pods can use.
apiVersion: "kubernetes-client.io/v1"
kind: ExternalSecret
metadata:
  name: test-db-secret
spec:
  backendType: secretsManager
  data:
    - key: dev/database
      name: DB_CREDENTIALSCode language: JavaScript (javascript)
This code will generate an opaque secret object in Kubernetes, but you no longer have to keep those secret values in your yaml, and they will only be pulled and associated with pods running in a ServiceAccount/IAM Role with access to those secrets!